
Thread up your machine with a matching thread color.
Get your four side purse pieces and lets sew up the side seam. Remember if you are using faux leather, you don't want to use pins to hold the pieces together to sew. Binder clips work great for stabilizing your pieces without damaging the fabric. My sample is not a fabric that is damaged by pins, so I'm doing it the old fashioned way!

to remove extra bulk. The top piece is trimmed.


Now cut the fabric band out (as directed). I like to use a quilt ruler to cut out squares and rectangle. Its fast, easy and you will get nice 90 degree corners!
Turn under the raw edges on the long sides and stitch. My fabric has a knit backing, so I only turned it under once. If your fabric might fray or get 'thready', you might want to turn it twice, or serge or zig zag the raw edge before turning under.


Those rings are heavy! Take a few basting stitches through the ribbon behind the rings to attach it to the center front piece. This will keep the rings from drooping when the purse is done!
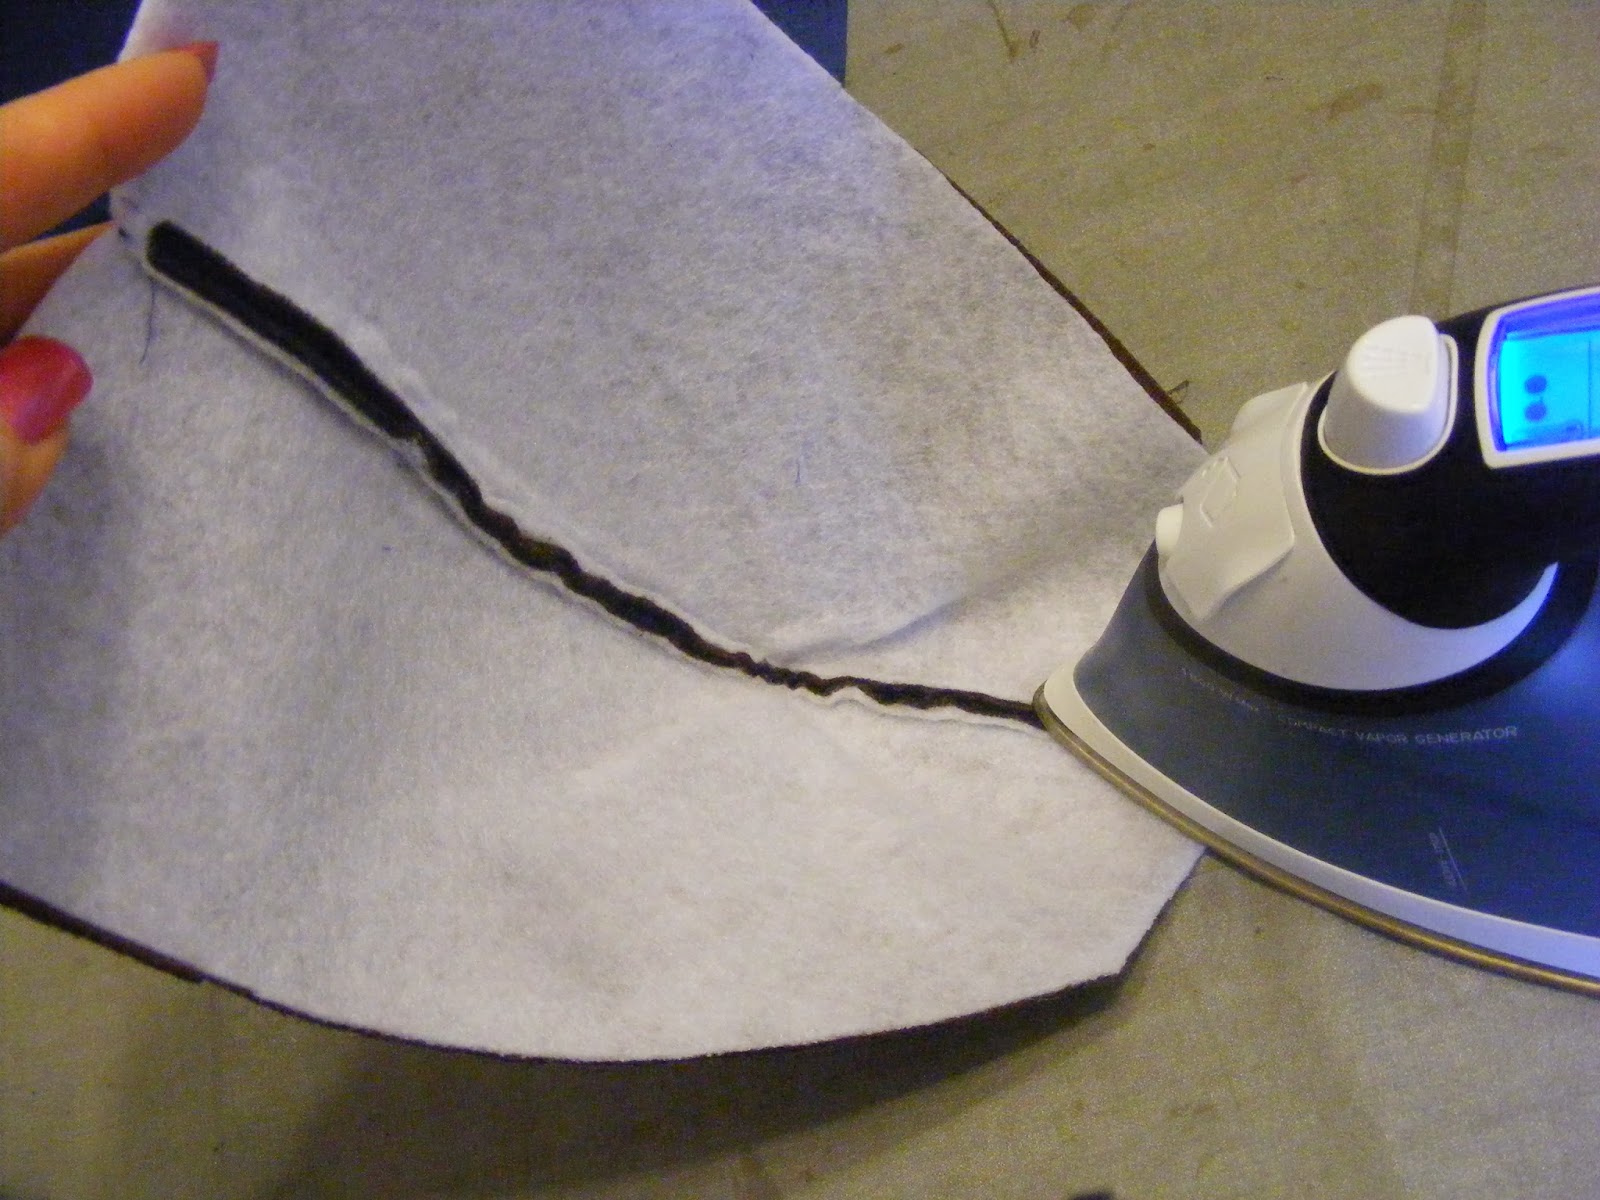
Sew the front pieces together at the bottom seam and press open.


Begin by matching up the bottom seam you just sewed to the side seam of the side pieces. Working out from there, pin the pieces together all the way to the top of the bag. Match the points and the upper edges of the bag pieces.


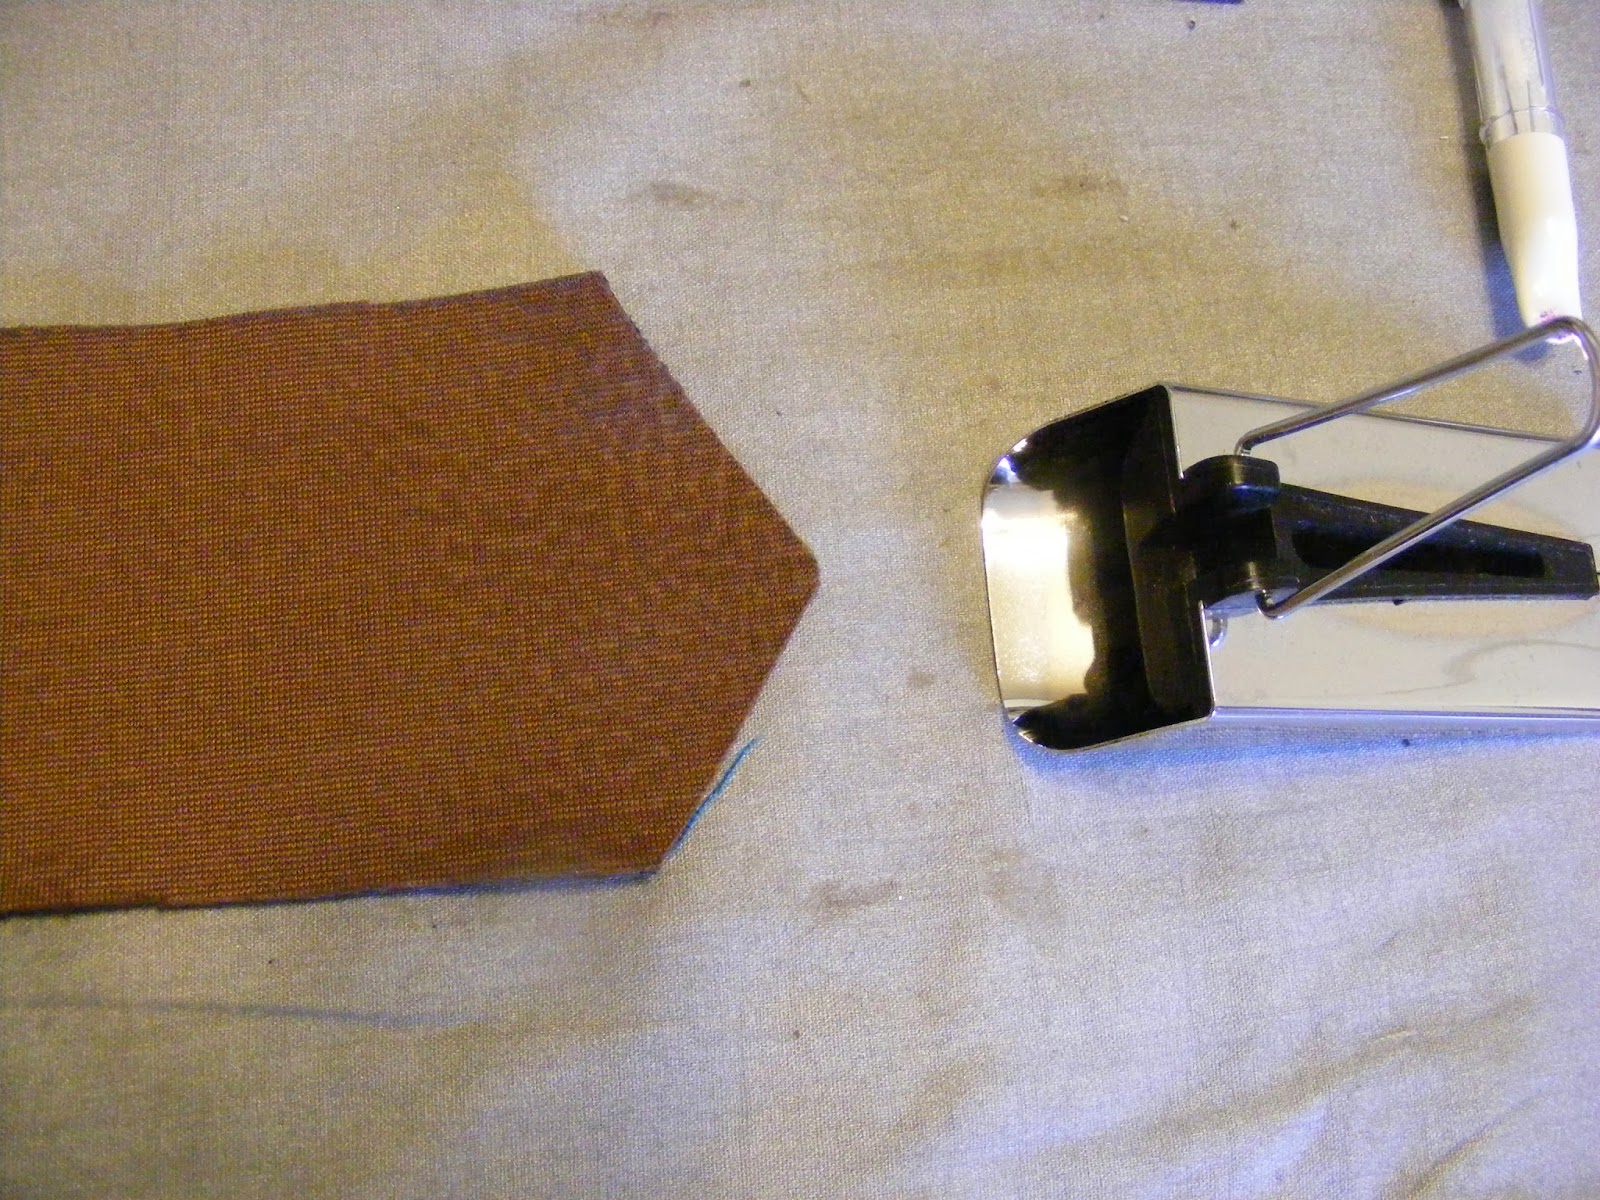
Find your strap loop fabric pieces. There should be 2 of them cut with your pattern. In order to keep these pieces from adding too much bulk to the upper seam of the purse, the strap loops are made a little differently than the strap. As directed in the pattern, turn the raw edges to the center of the strips and topstitch to hold the fabric in place. I sewed mine from the back side. You can sew from either side. Since my fabric wouldn't hold a press, by sewing from the back I could see that the edges match up so the width is consistent.


For this sew a long, I am making 2 straps. At first I was going to make the straps from the lining fabric, but once I got the bag to this stage, I didn't like the way the lining looked for the straps (even though it would be easier to work with!). After experimenting with the side bag fabric I determined that it would make nice straps, even though it would not hold a press very well.
If you are making straps, cut 2 pieces of fabric 3 1/2" by 30" long. You can make your straps longer or shorter if you like, this is just the length I like!
I hope you have a bias tape maker, it's such a useful tool! Thread the fabric strip through your bias tape maker and press the strip. Follow the pattern directions to turn under the ends. Because my fabric is very thick and knit, I decided to not turn under the ends - too much bulk! To get the fabric started through the bias tape maker, I cut a point in the end of the strip.


Find the rings for the ends of the straps. Loop the strap through the ring and stitch to close. The square with a box in the center makes a really strong attachment. As I mentioned earlier, my fabric is really bulky, so I sewed just a box and cut the ends cleanly without turning under the fabric.


Good progress today! Come back tomorrow for more stitching fun.
Who is sewing today? Post a comment and let me know how your Tina Purse is coming along!
ReplyDelete